I saw this wonderful project at this great site
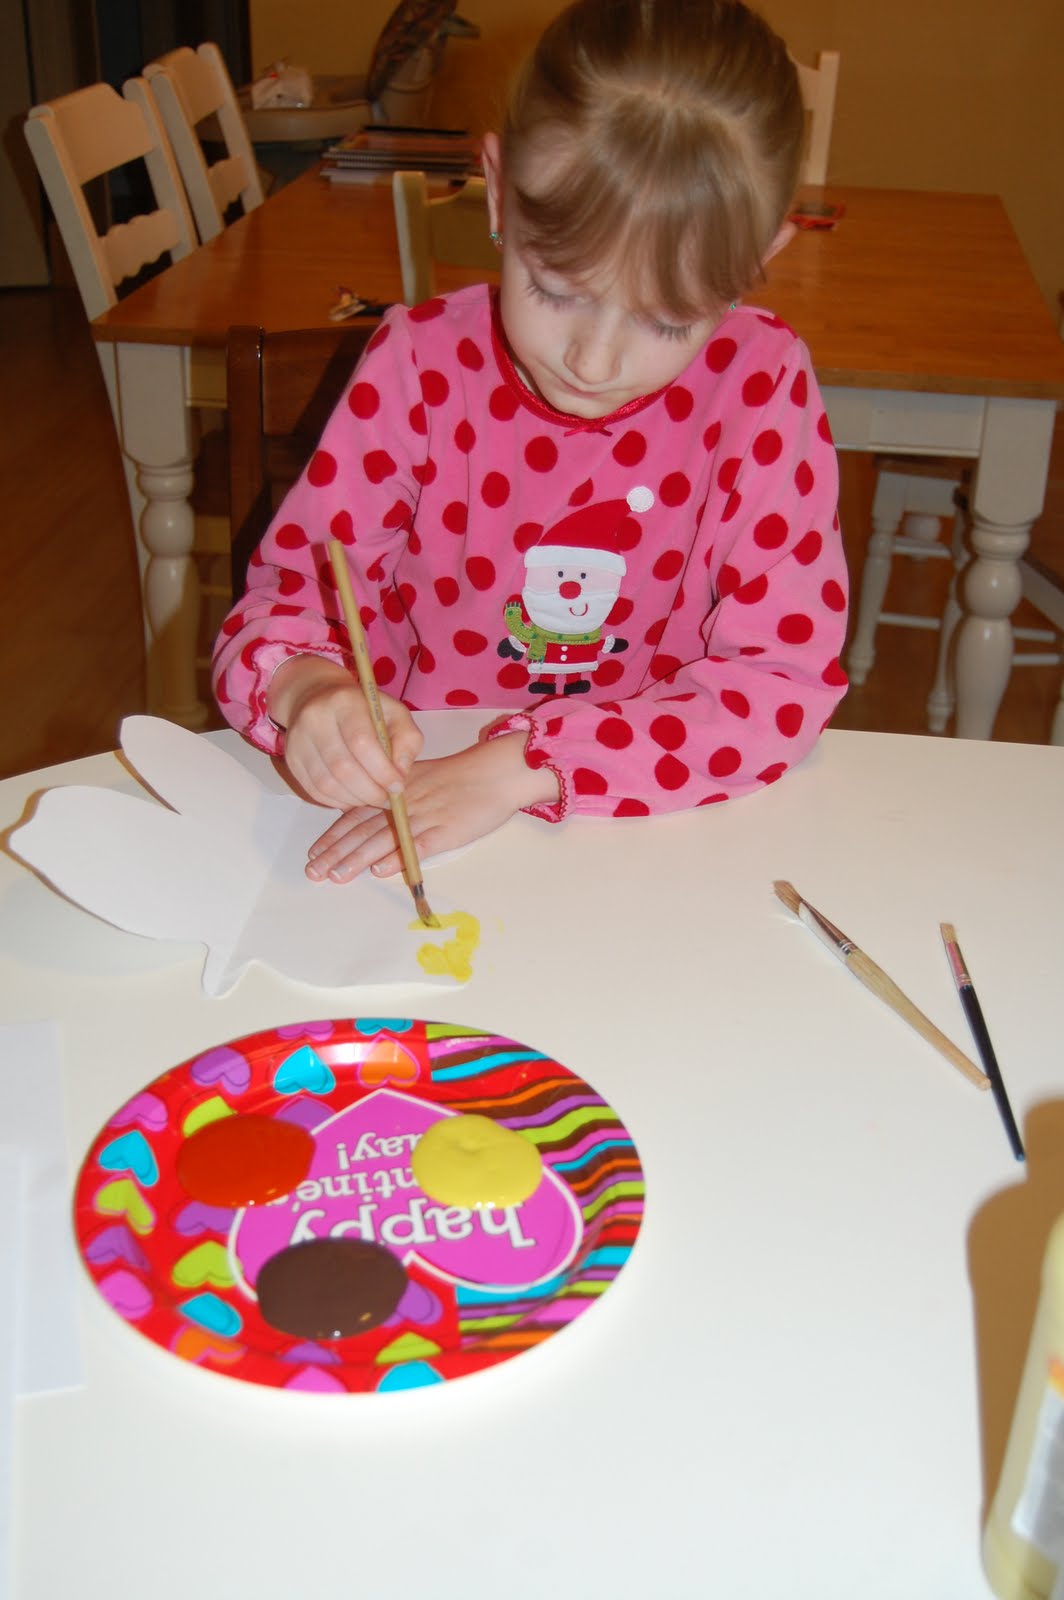
Pink and Green Mama (a favorite of mine)- as soon as I saw the project, I just had to try it out with Holly as this was right up her alley. When I showed her what we were doing, she was very excited. We started with a white cloth napkin and if she enjoyed this project we would later tackle something larger like an apron or book bag. This was just the right size for now though.
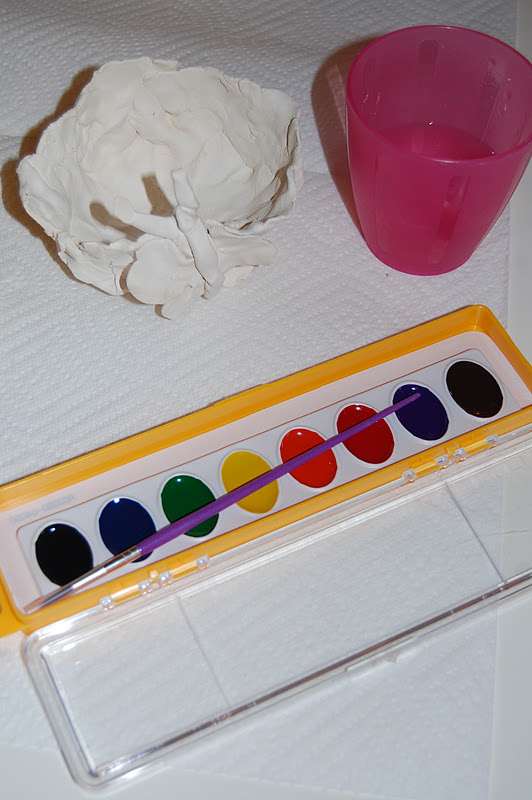
You take your Elmers Gel Glue and draw a design all over your fabric. Let is sit and dry for a couple of hours, we set ours in the sunshine. Then you paint your design with acrylic paint - rainbow colors for us. Again, let this dry for a couple of hours, we set ours in the sunshine. Once the paint is dry you will then soak your fabric in a sink of hot water for about 15 minutes and the glue will begin to dissolve. You can scrunch/rub the fabric together to encourage it to happen quicker, this will not ruin your paint job. Once the glue has fully dissolved from the fabric it will reveal the design you created, a batik.
This project, though it looks fancy, was amazingly easy and quick! Holly truly enjoyed this - we'll be doing more I am sure! A fun art project!!!


